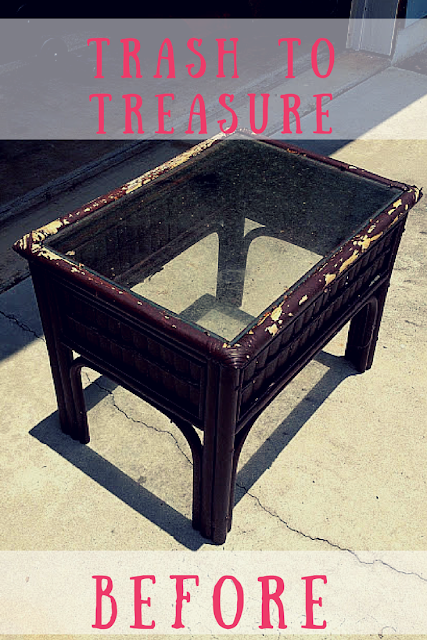
One of my favorite things to do is take someone's trash and turn it into my treasure! While it doesn't happen too often that I find good pieces in the trash ... when I do I'm so excited!!! I recently found this table put out to the road a few houses down and I snatched it up! Here is what I did to turn it into my treasure:
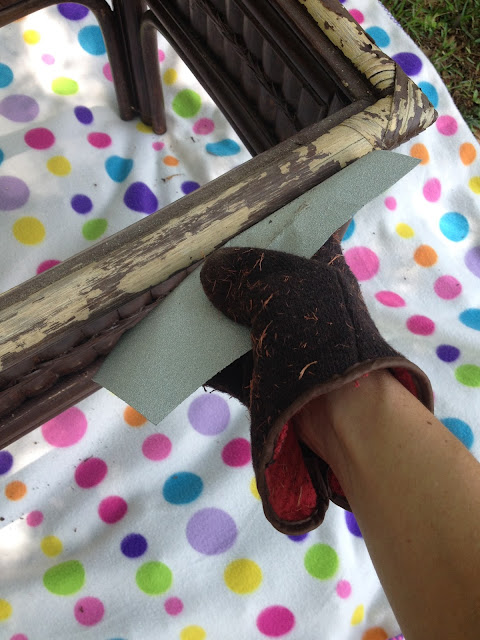
First I sanded down the parts of the table where the paint was peeling
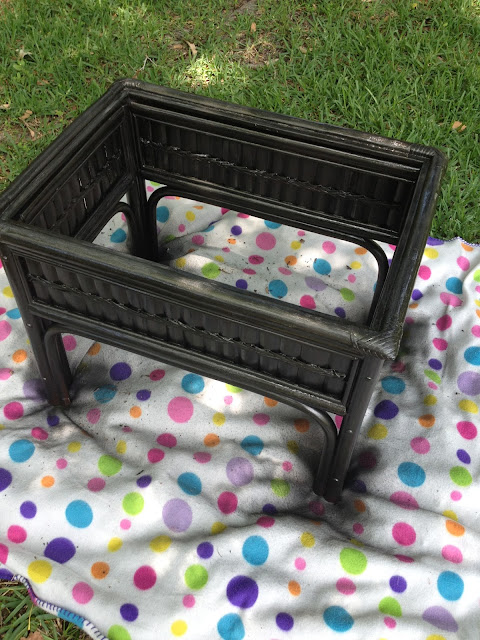
Then I got out my FAVORITE spray paint {here's another project where I used it}
Since the original color was dark, one coat was good. Make sure to walk all around and look at the different angles so you get every nook and cranny with the spray paint
{this took 1 1/2 cans of paint}
Once it dried I cleaned up the piece of glass and put it back.
{If you find a table without the top you can always cut a piece of plywood to size
and place it in there as you will be covering the top anyways.}
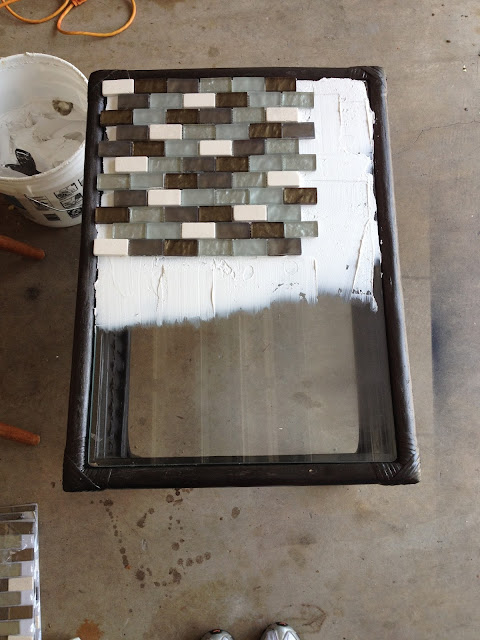
Next you'll need mastic - which is what will basically glue the tiles to the table top. I had some left over from when we refaced the fireplace, you wont need this big of a container, just enough to cover the top of the table.
Spread a nice thin layer to start. I would base the amount of mastic you use on the thickness of the tile. The heartier the tile the more you should use. The mastic does not dry too fast so if you plan to cover the whole thing in one sitting go ahead and spread all your mastic first.
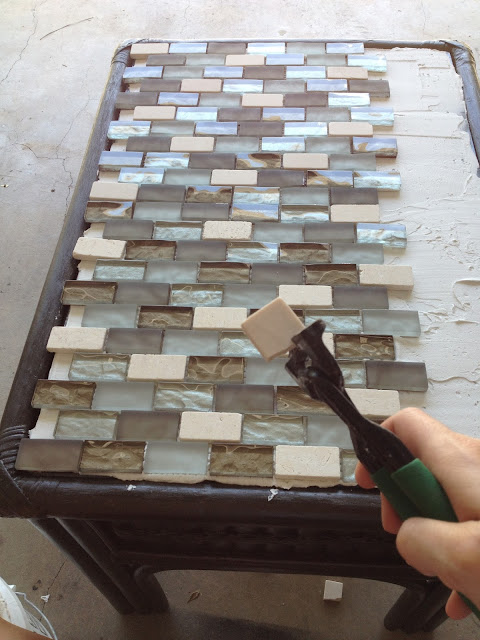
I decided to use the pre-arranged tile squares from Home Depot. This style was $10 per square and I used 3 total. Simply lay the tile onto the mastic and press down to secure.
Only two full squares fit on the table so I peeled the tiles off the last square and fit them in. I used a tile cutter to make the small squares to fit on the sides.
Once the whole table is covered let it dry. I let my dry overnight.
Finally you need to grout the tiles. I got premixed colored grout from Home Depot. You can mix your own but this way is MUCH easier.
I used a grout sponge to push the grout in between the grooves {although you can use one of those plastic spatula things as well}
I then cleaned it off with a wet sponge. Keep a bucket of water close to continuously rinse the sponge.
Once the grout drys ... Ta-da! My treasure of a beautiful outdoor table for our deck.







No comments:
Post a Comment